Weeknight Kitchen Setup: Arrange Your Space So Cooking Feels Easy After Work
 (This post contains an affiliate link)

You walk in the door, kick off your shoes, and stare at the kitchen. You want a real meal, not cereal again, but the counters are messy, the sink is full, and you are already tired. Sound familiar?
A smart weeknight kitchen setup removes that friction. When your space is calm and laid out well, cooking feels like a quick routine, not a project. You use less brain power, move less, and dinner gets on the table faster.
This guide walks through simple kitchen layout tweaks, basic tools, and realistic habits that work in any space, from tiny apartments to busy family homes.
Start With a Clean, Calm Kitchen Before You Even Cook
A clear kitchen is like a green light for your brain. When you walk into a tidy space, you do not have to fight through clutter or dishes before you can even chop an onion. That alone can be the difference between making pasta at home and ordering takeout.
Visual mess feeds mental stress. When your counters are covered, your brain sees a dozen unfinished tasks. That adds to decision fatigue, which you already feel after a full day of work. A simple, repeatable reset keeps your kitchen ready so cooking feels like one step, not five.
If your kitchen is very cluttered right now, it can help to do one focused session to clear out extra dishes and gadgets. A quick guide like these simple steps to declutter your kitchen can help you get to a clean starting point. After that, it is all about short daily habits.
The goal is not a perfect show kitchen. The goal is "good enough" so you can walk in, drop your bag, wash your hands, and start cooking without moving piles of stuff first.
Create a 5-minute reset after dinner or before bed
Think of a 5 minute reset as a gift to tomorrow-you. It is a short checklist, not a deep clean. Set a timer if it helps and run through:
- Clear the main counter (put dishes in the sink or dishwasher).
- Wipe that counter with a quick spray and cloth.
- Load or start the dishwasher, or at least stack dishes neatly.
- Put away clean dishes so they do not block your counter space.
- Toss obvious trash and wipe the stove if it looks greasy.
That is it. Five focused minutes can flip the whole mood of your kitchen and make easy cleaning a breeze the next day. When you walk in the next evening, you are not starting from behind. You are ready.
If every night feels too much, aim for weeknights only, or even three days a week. Consistency matters more than perfection.
Keep your main prep zone clutter free
Your prep zone is the countertop where the action happens. It is the spot where you chop, mix, season, and set things down. This might be a stretch of countertop next to the sink, beside the stove, or on an island.
Pick one main area and protect it. That means:
- No mail piles.
- No random gadgets that never move.
- No permanent snack piles.
Use a tray, basket, or small bin for small items that tend to land there, like keys or vitamins. The rule is simple: nothing lives in your prep zone unless you use it to cook at least twice a week.
When this space stays open, starting dinner feels easy. You do not have to make room first, you just start working.
Use simple cleaning tools you can grab in seconds
If cleaning tools are hard to reach, you will put off cleaning. Keep a small caddy or basket stocked and ready with:
- Dish soap
- Scrub brush
- Sponge or cloth
- All purpose spray
Store it under the sink or on a nearby shelf right by your prep zone. When you finish chopping, do a quick wipe before you move on. While food simmers, do a 30 second scrub of a cutting board or knife.
These tiny clean-as-you-go moves keep mess from piling up into a huge chore at the end of the night.
Set Up Smart Kitchen Organization Zones So You Move Less and Cook Faster
Professional kitchens use zones so cooks are not running around for every spoon and pan, streamlining their workflow. You can copy that idea at home in a simple way, even in a rental.
Think in tasks, not storage: prepping, cooking, eating, and storing food. This organizing system groups items by what you do, not by random cabinet space. If you want ideas for layout and storage, check out this kitchen organization plan.
You do not need a fancy remodel. Drawers, shelves, and even a small rolling cart can form clear zones.
Build a weeknight prep station near your best counter
Choose the counter or island that feels best to work at, perhaps the countertop with good light, near the sink, or the biggest flat area like a central island. This is your weeknight prep station.
Keep these items in the drawer or cabinet right under that counter:
- Cutting boards
- Sharp knives
- Mixing bowls
- Colander
- Trash can or compost bin nearby
When everything you need is right there, you are not crossing the kitchen while your pan heats up too fast. You just reach down for a bowl or board and keep moving.
You can also use a small bin or basket inside the cabinet labeled "prep" so you grab the whole set at once.
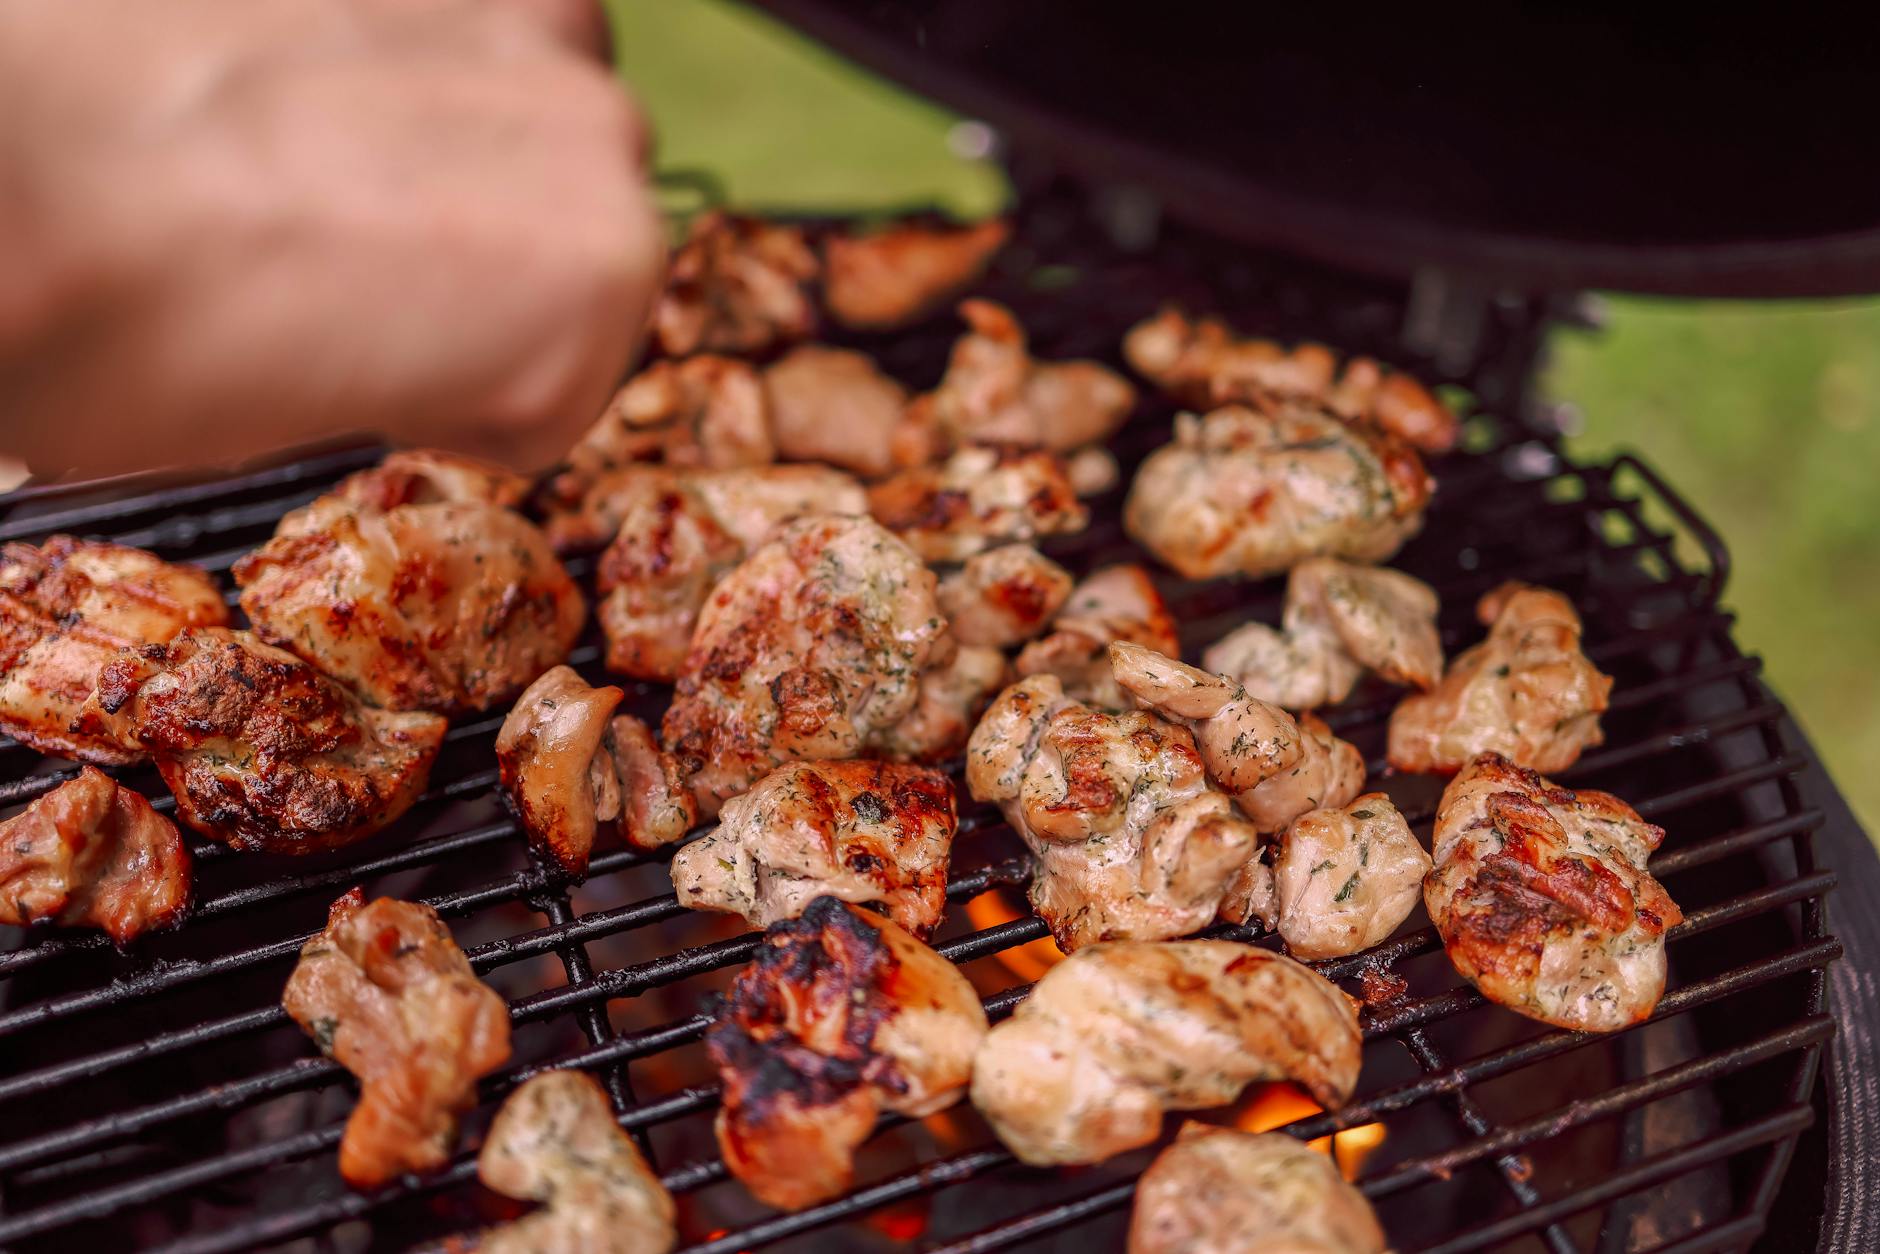
Organize a cooking zone around your stove
Your cooking zone lives around the stove and oven. This is where heat happens, so put anything that touches heat nearby:
- Pots and pans
- Cooking utensils (spatula, tongs, wooden spoon)
- Oven mitts
- Basic oils
- Salt, pepper, and a few go to spices
Use a utensil crock on the counter for your top tools. Add a small tray for oil, salt, and pepper. If you like, install simple hooks or a rail for your most used pans so they hang within reach.
Less used pots, stockpots, baking dishes, and appliances can go in deeper or higher cabinets. Keep the prime space for what you grab during a normal weeknight meal.
Make an easy access everyday dining area
Your everyday dishes should be easy to grab and fast to put away. To save steps, keep:
- Plates and bowls
- Cups and glasses
- Silverware
close to the dishwasher or sink, or in a breakfast nook. This makes unloading much faster and keeps traffic out of your main cooking lane, promoting efficiency around the seating. Family members can grab a glass of water without weaving through your hot pans and chopping area.
If you have kids, put their dishes on a lower shelf so they can serve themselves.
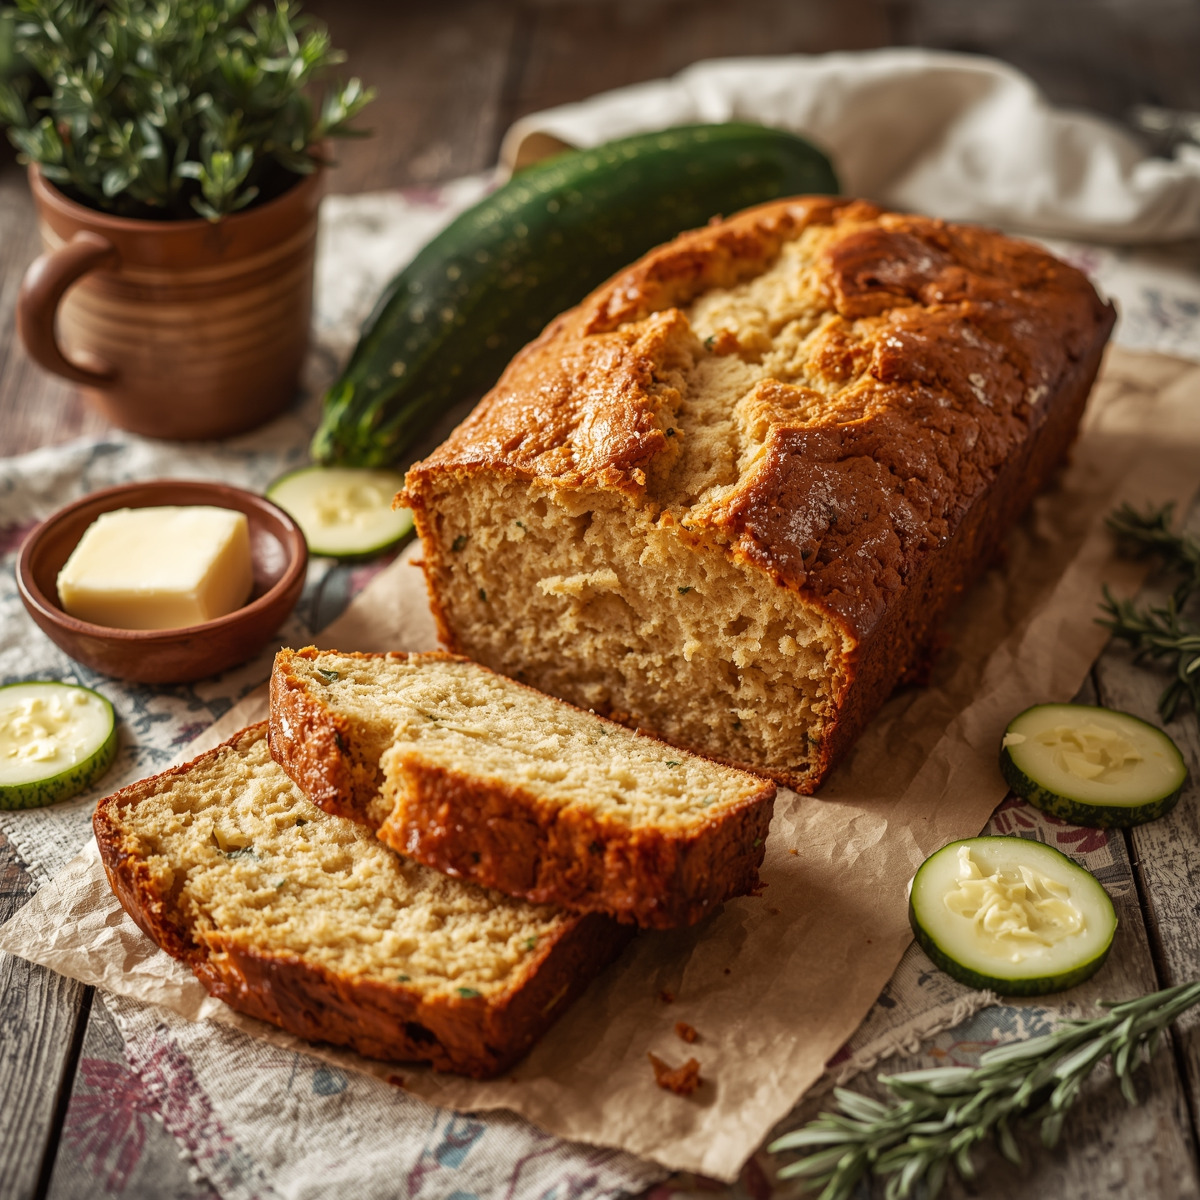
Create a grab and cook pantry shelf for weeknights
Pick one pantry shelf, or one cabinet, just for weeknight dinners. Stock it with things that turn into quick meals, such as:
- Pasta and rice
- Canned beans
- Canned tomatoes
- Tortillas
- Jarred sauces
Keeping these weeknight staples in one spot helps you see your options in seconds. You can open that door and think, "Tacos, pasta, or rice bowls tonight."
Use bins or clear food storage containers to group snacks in another area so they do not mix with dinner supplies. Group similar items together, like all pasta shapes in one bin, so you do not dig around when you are tired. For more storage ideas, you can look at kitchen organization tips for busy families.
Use height and simple organizers for small spaces
Small spaces still have options. Use your walls, doors, and corners.
Helpful add-ons include:
- Wall mounted racks for pans or lids
- Magnetic strip on the wall for knives
- Over the door baskets for pantry items or foil and bags
- Drawer dividers for utensils and tools
- Turntables (lazy Susans) for oils and sauces in corner cabinets
- A banquette for space-saving seating
Store daily items at eye or waist level. Put rarely used gear, like holiday platters or special baking pans, high up or deep in cabinets. Your body should not work hard to reach the things you use every day.
Make Weeknight Cooking Easier With the Right Tools and Habits
Once your layout works with you, the next step is how you use it through good organization. A few solid tools and simple habits can turn weeknight cooking into a smooth routine.
You do not need every gadget. You just need the ones that make most meals easier.
Keep a small set of go to tools within arm’s reach
Most weeknight dinners use the same tools over and over. Keep these within easy reach, not buried behind holiday gear:
- Chef’s knife
- Paring knife
- Cutting board
- Large skillet
- Medium pot
- Sheet pan
- Tongs
- Spatula
- Wooden spoon
- Measuring cups and spoons
Store them in your most reachable drawer, a counter crock, or on a small cart. If you have gadgets you use once a month, move them to a higher shelf. Clear space for the workhorses.
When the right pan is always close, you do not waste time hunting, which makes starting dinner feel much easier.
Use mise en place at home to cut stress
Mise en place is a fancy French term that simply means "everything in its place." At home, it looks like this: you do your meal prep before you turn on the heat.
For example, taco night:
- Chop onion, peppers, and any other veggies.
- Grate cheese.
- Open and drain beans.
- Set out spices, tortillas, and toppings.
Put chopped items in small bowls or on plates and group them near the stove. Keep a "trash bowl" on the counter for peels and scraps so you are not walking to the trash can every two minutes.
Once the pan is hot, you just grab and add, grab and add. No frantic chopping while something burns.
Plan super simple weeknight menus that match your setup
Your kitchen setup, including efficient seating like a banquette that maximizes utility in a small dining area, should support what you actually cook. Simple patterns work well for tired nights, such as:
- One pan meals in a large skillet
- Sheet pan dinners with protein and veggies
- Stir fries with rice
- Pasta with one veggie and one protein
Keep a short list of go to meals on the fridge or in a notes app. When you are tired, you can pick one without thinking.
For example, if you know your sheet pan and cutting board are easy to grab and your pantry shelf has pasta and beans, you might default to roasted chicken sausage with veggies one night and pasta with chickpeas the next.
Your zones and tools lower the effort and the mental load at the same time, especially by minimizing friction related to family eating and cleanup through thoughtful seating.
Clean as you go so you are not stuck with a huge mess
The best way to avoid a giant post dinner mess is to chip away at it while you cook.
Simple habits:
- Rinse and load knives, cutting boards, and bowls as soon as you are done with them.
- Keep one side of the sink filled with hot, soapy water for quick wash ups.
- Wipe small spills or crumbs right away with your cleaning caddy.
After you eat, do that 5 minute reset again. Future you will thank you tomorrow night when you walk into a space that looks ready for action, not like a sink disaster.
Conclusion: Let Your Kitchen Do Some Of The Work
A calm weeknight kitchen does not come from fancy gear. It comes from a simple layout, a few smart habits, and tools that are always where you need them.
You do not have to overhaul everything at once. Start with one change this week, like setting up a prep zone or trying a 5 minute nightly reset. Notice how much lighter cooking feels when the space supports you.
With a little thought now, cooking after work can shift from draining to surprisingly relaxing. Your kitchen can feel like a helper, not another source of stress.
 |
| Affiliate Link |